
Migrating zAgileConnect Case data to a new Salesforce instance (Jira Server/Data Center users)
Introduction
This document covers steps needed to migrate zAgileConnect data when moving to a different Salesforce instance while connected to the same Jira On-prem instance.
zAgileConnect maintains Case-Issue relationships in both Salesforce (custom object: ZIssue_SF) and Jira (Active Objects). In an active integration, these relationships are synchronized and used to deliver the zAgileConnect functionality in both Salesforce and Jira. It is therefore imperative that any migration strategy take this into account to ensure proper functioning of the integration following data migration.
Migration of Case-Issue links maintained by zAgileConnect for Salesforce and Jira involves the following steps, when migrating to a different Salesforce instance while keeping the same Jira instance:
Create a CSV file with Case-Issue relationships from the ‘Source’ Salesforce Instance
Modify CSV file with new Case Numbers and IDs from ‘Destination’ Salesforce Instance
Delete zAgileConnect data in Jira Server/Data Center
Configure zAgileConnect package in the new Salesforce instance
Import the modified Case-Issue relationships from the CSV file and synchronize Case-Issue data in ‘Destination’ Salesforce instance and Jira Server/Data Center
This process assumes that Jira Issues Keys and Ids being referenced in Salesforce have not changed during the migration.
Create a CSV file with Case-Issue relationships from original Salesforce Instance
Generate a CSV file with only 3 column headers CASENUMBER, ISSUEKEY, ISSUEWASCREATED.
You can use the following SOQL query to retrieve the case-issue relationship data:
SELECT zsfjira__Case__r.CaseNumber, zsfjira__ZIssue__r.zsfjira__IssueKey__c, zsfjira__IssueCreated__c FROM zsfjira__ZIssue_SF__c WHERE zsfjira__Case__c != nullWorkbench can be used to export the data to CSV file via SOQL query.
Make sure to rename the CSV headers to CASENUMBER, ISSUEKEY, ISSUEWASCREATED.
Modify CSV file with new Case Numbers and Ids from new Salesforce Instance
This steps assumes all Case records have been migrated to the new Salesforce instance and so Case Numbers and Case IDs may be different in the new Salesforce Instance. One approach to track old and new Case Numbers and Case IDs is to copy the old Case Number and Case IDs (18 char ids) as custom fields into Case object in the new Salesforce instance.
You will need to update the CSV file generated in the previous steps with the new Case Numbers and Case IDs.
Make sure the Case numbers keep the leading zeros and the Case IDs are 18 chars length (15 char ids are not supported).
Delete zAgileConnect Data in Jira Server/Data Center
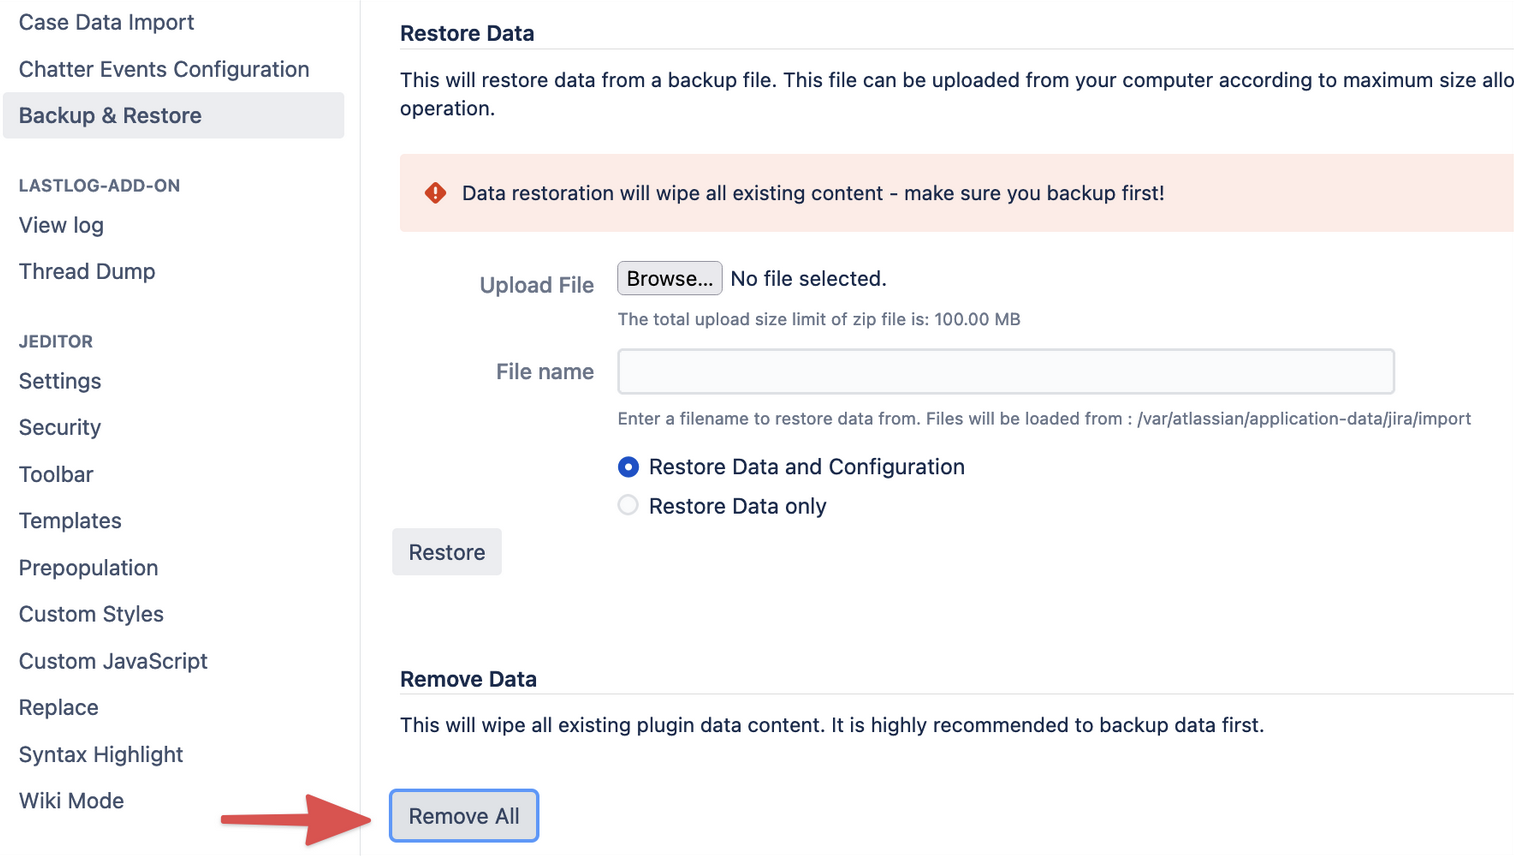
Navigate to JIRA Settings → Manage Apps → Salesforce Integration zAgileConnect → Backup & Restore.
Click on Remove All, this will remove all Salesforce-Issue relationship data and zAgileConnect Configuration from your Jira Instance only.
Configure zAgileConnect in the new Salesforce instance
Install, configure and setup the integration in the new Salesforce instance following zAgileConnect Installation & Configuration
Import the Case-Issue relationships from the CSV file into Salesforce and Jira and synchronize Case-Issue Data in Jira
Before importing make sure any custom trigger, process or flow on ZIssue__c, ZIssue_SF__c and ZIssue_Case__c objects are disabled to avoid any unexpected error when importing the CSV.
Follow this guide to import the relationships CSV file Importing Existing Case-Issue Relationships into zAgileConnect
Please note that the example in the link above has only two columns but you will be importing the CSV file with 3 columns (CASENUMBER, ISSUEKEY, ISSUEWASCREATED).